I can wear a collage. Can you?


Image

Okay the title does not justify all that I have just written. Who cares? You’ll see what I mean when you scroll down in a few minutes.The picture above? It’s hypnotically trying to get you to read this.

You feel like reading…so read…read

Sunday mass ended at 7pm and we were off to the Sunday bazaar to buy some fruits. I told dad I’ll be right by the clothes stall to look at some nice tops. I found this nice collage shirt. And dad was happy enough to buy it for me since I rarely ask for anything major like…a car. Which my brother had. Oh and which by the way I drove back from mass. All I needed now was to renew my license and make bad-ass skid marks on the highway. (kidding!) As soon as I got home I laid down my new top and some black shorts from mom. Yes it seemed like a nice pairing but I wanted to alter the shorts a little bit. I made this real life Polyvore image and put my camera on self timer. I needed the selfie as a vain intervention from mundane freelance work.

IMG_4404

From left: Ipod touch with demon silicone cover, P-Sharan Lomography camera, new collage print top from Zoe’s Closet, Axcent watch, fisheye camera bag.

Image

Image

Hooraah for a great Sunday! Thanks for viewing folks!

Films and Flash guns : Analog and Digital


The wonders of film photography! Sunlight may be the main light source, but with a background in digital photography, it wasn’t long before the hotshoe on my little white film cam (LC-A+) has been mounted with a Young Nuo Flash gun! Results are simply…amazing!

Image

Image

ImageShots are pretty sharp in detail! Amazing how the LC-A+ can capture this with the right amount of grain. My little pup Kimch seems to be smiling too!

ImageThis nameless turtle stuff toy came from ma’ best guy friend! Have yet to give it a name. This little dude came all the way from…somewhere foreign. Lol!

Image

Image

ImageIt’s my little sister’s turn to be taken a shot! I let her wear them dark rimmed Raybans for that extra look.

ImageToo bad this pic broke off! still the way she was hugging Kimch looked priceless! 😀

So to those whose film cams with hotshoes, experiment not only with lomo flashes, but with digital ones too! You’ll never really know what you’ll get! And that’s the usual magic to it.

Diana Leather case mod for your 35mm back!


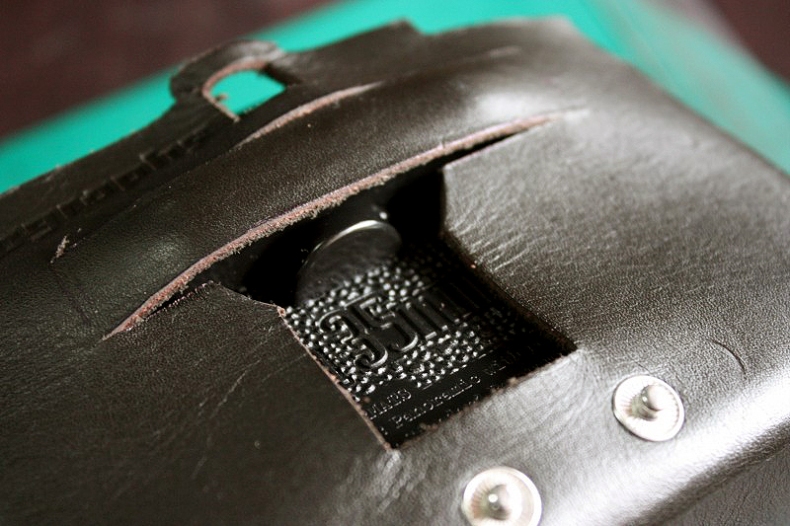
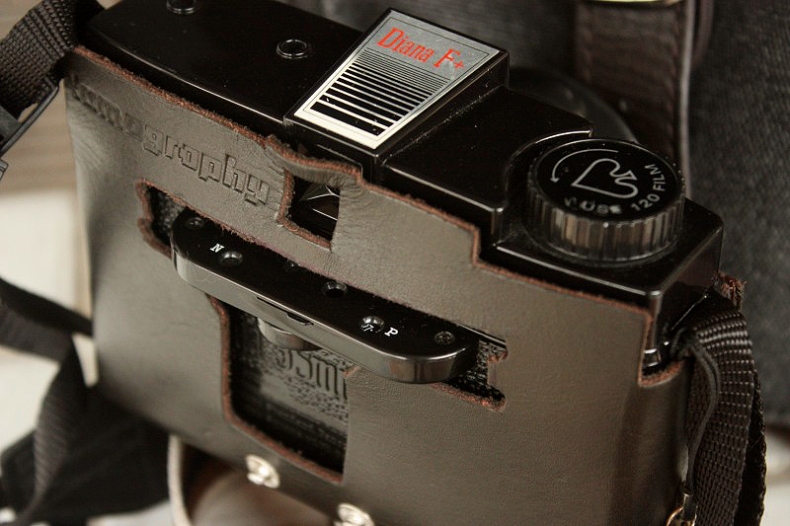
Bought yourself the Diana F+ leather case but often using a 35mm back? Worry no more! This little mod will help make all its parts fit in style!

Image

What you’ll need:

1.    Sharp craft knife (X-acto or Surgical knife would be best!)
2.    Eyelet puncher
3.    Ruler
4.    A Pen
5.    Cutting board

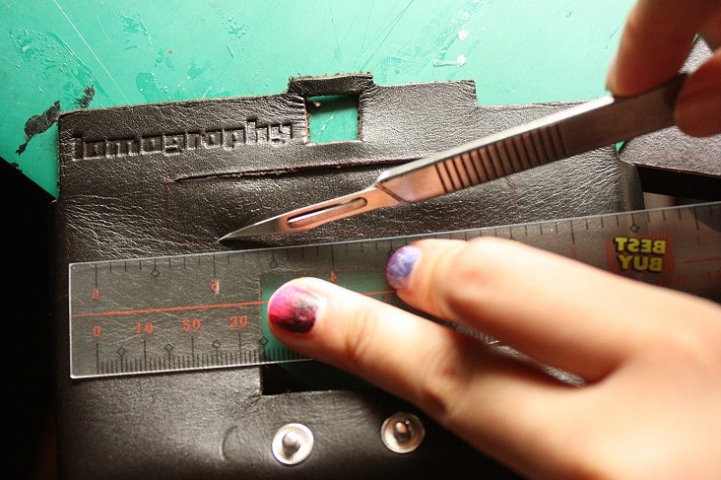
Step 1: With your fingers, mark the area where the Exposure Counters knob is hitting. With a pen, dot out or place marks on the area you think should be cut.

Step 2: Connect your maker points with a ruler so you can define the very shape of the area that you’ll be cutting. A rectangular shape of about 65mm in width and 12mm in height would probably do the trick!

Image

Step 3: With the X-Acto knife, carefully cut the two horizontal lines / top & bottom lines that defines the height of the Exposure Counters. We’ll get to the left and right side in a while. Getting to approximate first is very important. We don’t wanna cut out too much.

TIP:  The best way to cut is to do it by layers. First apply a reasonable amount of strength through the marked points. Repeat until you feel your blade has already reached the cutting board.

Image

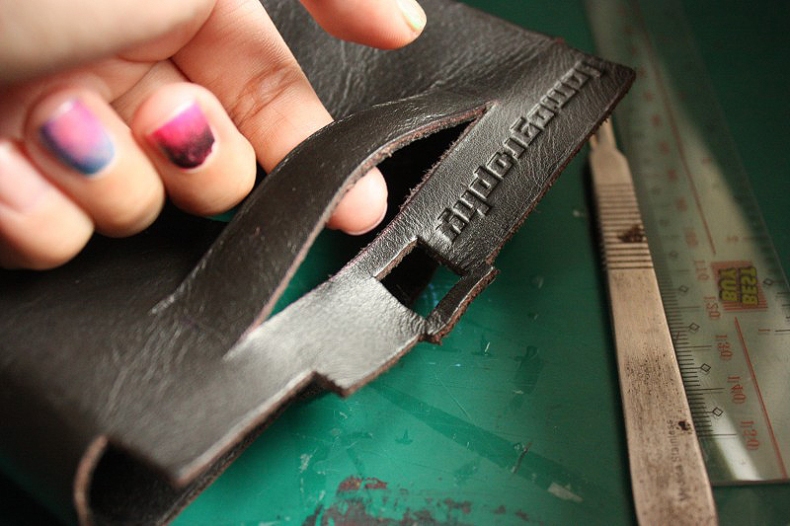
You should have two slits that shapes as our soon “free space” for the Exposure Counters. Now we move on to the area as to which a small semi-circle knob rests just below it,

Image

Step 4: Since the Diana leather case already has a square hole for the original Diana backing, we’ll be cutting a lot more easily and with a lot less effort. From the top edges of the square, mark or draw a semi-circle connecting to the bottom line you have just cut.

Image

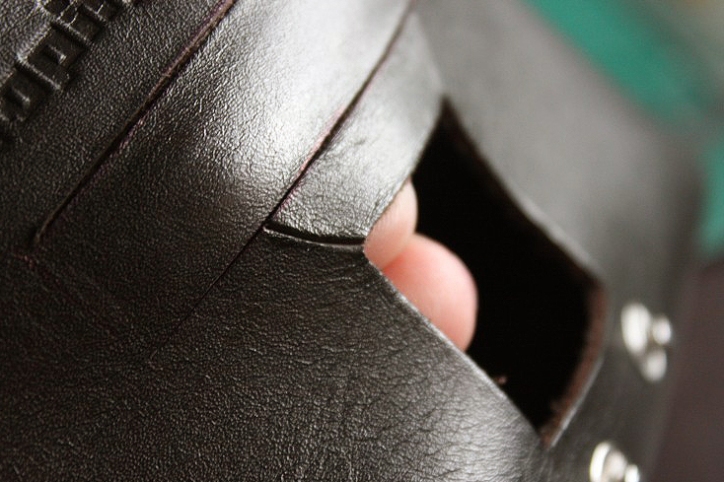
Step 5: Now carefully cut out that part first. Viola, you have free space for that small knob that lumps out of your case.

Step 6: And last, cut the remaining sides for the Exposure Counters. This way you can carefully assess how long you wanna cut that leather.

Image

Image

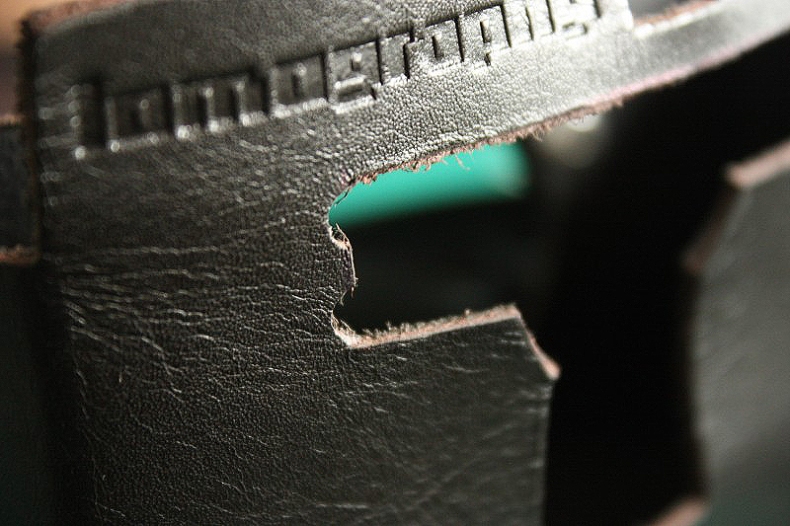
(Optional) If you were a bit shaky while cutting the leather and seem to have left ugly edges, use an eyelet puncher to smooth it out! Simply punch away the area of the unwanted extra / mistakenly cut leather and do the same for all edges to add some style!

Image

To also see more of this, copy paste lomo-link: http://www.lomography.com/magazine/tipster/2012/08/09/diana-leather-case-mod-for-your-35mm-back

Thanks for reading!

Birthday shopped online! Lomography’s Attic Sale


It’s 2am in the morning and I’m still chock full of energy. Just turned 25 and still running on beer foam, my best friend and I were up for hours, computing if my birthday gift was worth the purchase and shipping cost.

It just so happens that Lomography is having an attic sale. All film cameras and accessories at 50% off.  And on top of that I have my Piggy Points (Strategic points by Lomography online society that equates to a dollar or a euro) You get piggy point by subscribing at Lomography.com and posting pictures and writing articles on analog cameras.

With a 50% discount and 55 piggy points at hand, I was ready to shop!

Here are the awesome stuff I got:

Image

Image

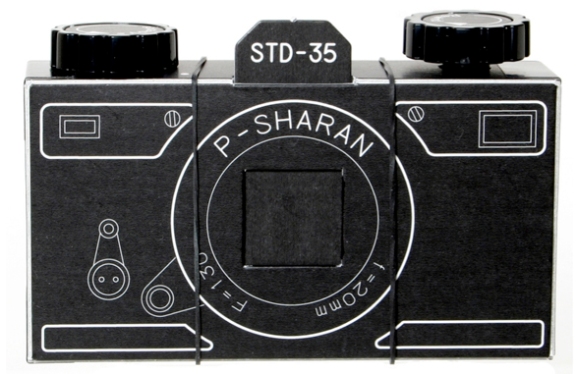
A Sharan Pinhole cam from Japan. The fun part…assembly required!

Image

Image

Button pins. Designs I haven’t seen round here in the Philippines so I hope it’s worth the purchase.

Image

Pack Rat bag! Been wanting one of these since I last went to HK with my awesome friends.

All pictures are owned by http://www.lomography.com
Why not go and shop as well? You might find some awesome stuff:

http://asia.shop.lomography.com/attic-sale

DIY Diana Strap Marker For Measuring the Distance of Your Close-Up Lens!


In this tipster, learn how to make a DIY Diana close-up lens marker by making use of little trinkets and colored cloths that compliment your camera strap!

Also check this at http://www.lomography.com
 

Let’s add a little beauty to the usual Diana strap marker! For this tip I’m using a Diana F+ with a close-up lens. It’s okay if you’re using something else since you can also do this with any camera strap!

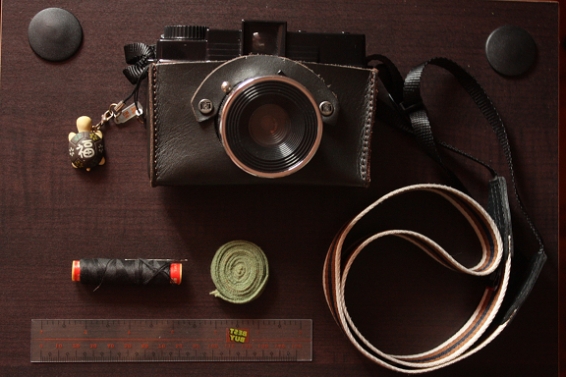
What you will need:

Image

1. A piece of thin cloth in any pattern or color
2. Your choice of colored thread
3. Sewing needle
4. Ruler
5. Button / trinket you want to customize your marker with
6. Pushpin


Image

Step 1:

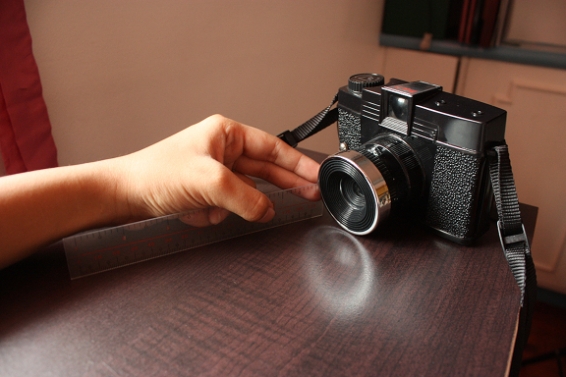
Get your ruler and measure 6 inches from your close-up lens. For other cameras and distances, just run a pushpin through the area where you want your marker to be.

Step 2:

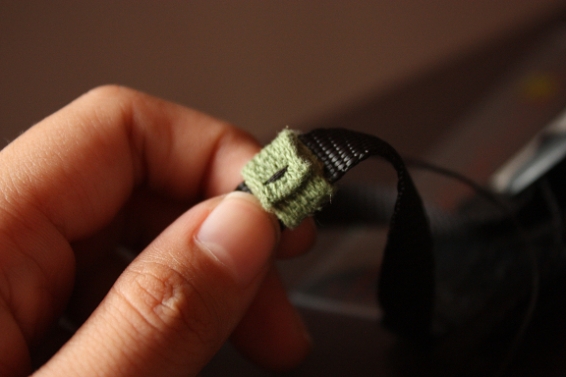
Cut a piece of cloth at about an inch or 1.5 inches. Take out the pushpin and fold in the cloth onto your strap. Once done, run the pushpin through the marker to hold it in place. Since my camera strap is in black, brown and white, I preferred to chose earth colors to suit its whole look.

Image

Image

Step 3:

Get your needle and thread and sew in the cloth. Also it’s better if the thread color compliments the cloth’s color too to make it look extra nice!

Image

Image

Step 4:

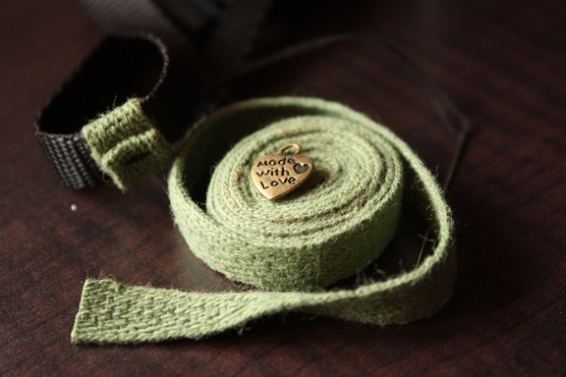
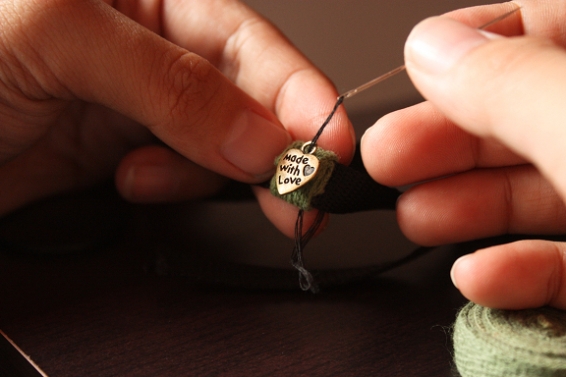
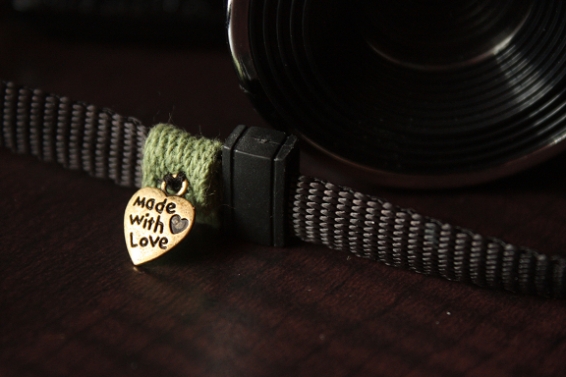
Get your little trinket to personalize your marker. For this one I used a small heart shaped piece. You can use other stuff too like small buttons or tiny beads.

Step 5:

Sew this in; making sure that it covers the rest of the first thread so it doesn’t look too messy. Lock it in place and you’re done!

Image

It’s not just about marking the distance with your strap but making it look good too! Nothing better than customizing your own gear as soon as you step out of your home to take amazing pictures!